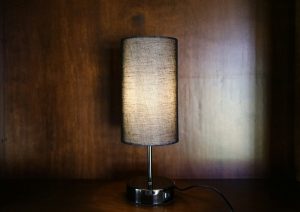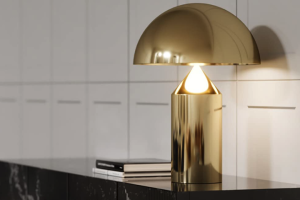
If you are looking to create realistic and stunning visuals for your interior design project or product showcase, using a 3D model of a lamp can greatly enhance the quality of your visuals. In this step-by-step guide, we will show you how to create a 3D lamp model that can be used in various design applications.
Step 1: Sketch your design
Before you start creating your 3D model, it’s important to have a sketch or a reference image of the lamp design you want to create. This will help you create a more accurate and realistic model. You can use various software applications to sketch your design, including Adobe Photoshop, SketchUp, or even pencil and paper.
Step 2: Create a basic shape of the lamp
Once you have your sketch or reference image, you can start creating the 3D model of your lamp. To create a basic shape of the lamp, you can use software applications such as Blender, Maya, or 3ds Max. You can start by creating a cylinder or a cube and then shape it based on your sketch or reference image.
Blender
In Blender, you can create a cylinder by selecting “Add” from the menu and choosing “Mesh” > “Cylinder”. You can then adjust the size and shape of the cylinder by selecting it and editing the properties in the window.
Maya
In Maya, you can create a cylinder by selecting “Create” from the menu and choosing “Polygon Primitives” > “Cylinder”. You can then adjust the size and shape of the cylinder by selecting it and editing the properties in the Attribute Editor.
3ds Max
In 3ds Max, you can create a cylinder by selecting “Standard Primitives” > “Cylinder”. You can then adjust the size and shape of the cylinder by selecting it and editing the properties in the Modify panel.
Step 3: Add details and textures
Once you have created the basic shape of your lamp, you can add details and textures to make it look more realistic. You can add details such as buttons, switches, or cords by using a software application that supports sculpting, such as Zbrush or Mudbox. You can also add textures such as wood, metal, or glass using a software application such as Substance Painter.
Zbrush
In Zbrush, you can use various brushes to add details to your 3D model. For example, you can use the Pinch brush to create a button, or the Dam Standard brush to create a cord.
Mudbox
In Mudbox, you can use the sculpting tools to add details to your 3D model. For example, you can use the Grab tool to create a button or the Wax tool to create a cord.
Substance Painter
In Substance Painter, you can apply textures to your 3D model using a library of materials or by creating your custom textures. For example, you can apply a wood material to create a wooden lampshade or a glass material to create a lamp with a glass base.
Step 4: Render your 3D model
Once you have added all the necessary details and textures to your 3D model, you can render it to create a final image. You can render your model using software applications such as V-Ray, Mental Ray, or Arnold. These software applications allow you to adjust the lighting, camera position, and various other settings to create a realistic image of your 3D model.
V-Ray
In V-Ray, you can adjust the settings such as the camera position, lighting, and materials to create a realistic image of your 3D model. You can also add effects such as global illumination, ambient lighting, and reflections to enhance the quality of your image.
Mental Ray
In Mental Ray, you can similarly adjust camera position, lighting, and materials to create a realistic image. You can also add effects such as Final Gather, Global Illumination, and Ambient Occlusion to enhance the quality of your image.
Arnold
In Arnold, you can adjust settings such as the camera position, lighting, and materials to create a high-quality image of your 3D model. Arnold’s renderer is known for its ability to produce highly realistic and detailed images.
Using a 3D lamp model is a great way to enhance the quality of your visual presentations. By following the steps outlined in this guide, you can create a 3D lamp model that is both accurate and visually appealing. Whether you are an interior designer, product designer, or CGI artist, learning how to create 3D models of objects can greatly improve your design skills and help you create stunning visuals.